News

Posted on

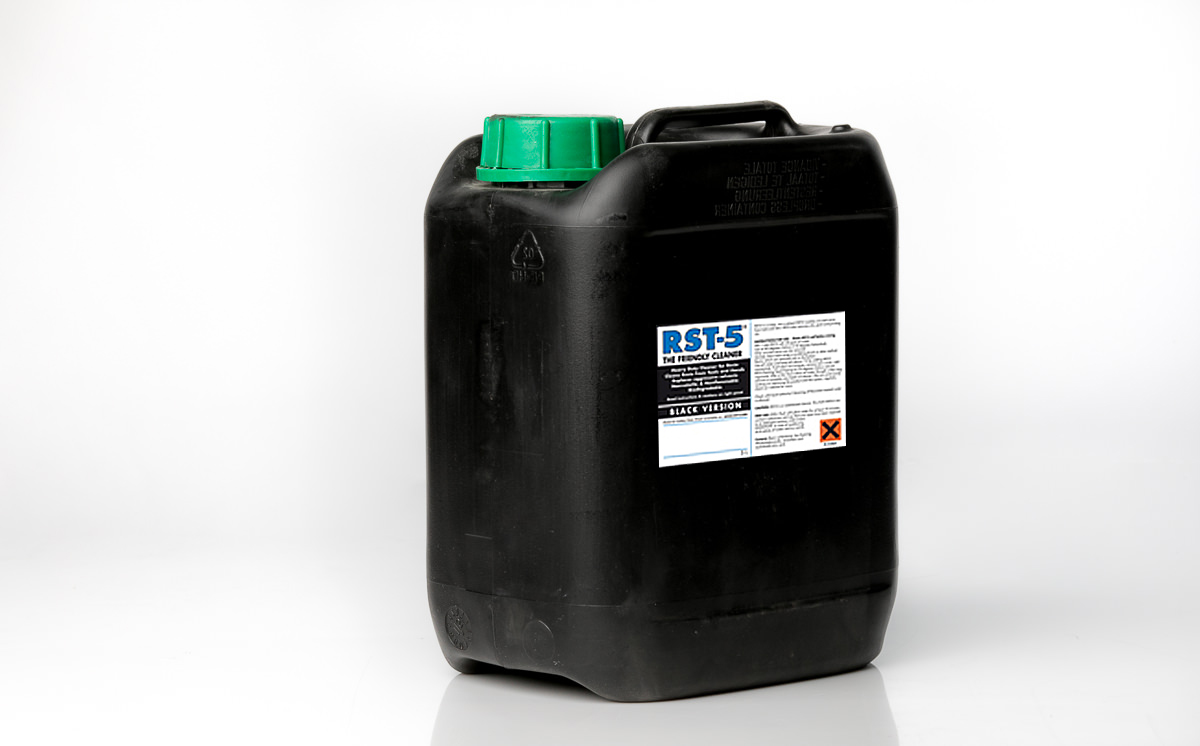
RST-5 is a promising solution for washing tools, construed especially for companies dealing with composite processing.

RST-5 is 95% based on water and it is good for washing of:

  • soft rollers,
  • brushes, moulds,
  • hands,
  • surfaces,
  • aluminium and Teflon rollers.

The system is considered harmless, safe and more environmentally friendly by many. It is a good alternative to such solvents as acetone or methylene chloride.

Alternative action Unlike acetone, RST-5 does not solve resin but it causes resin dispersion (dissipation, fragmentation) and separation. Dispersed resin falls to the bottom of the container with the liquid, it deposits and may be quickly and easily removed, leaving clean bath for further use. From time to time more RST-5 agent should be added to maintain high washing efficiency. This washing method cannot be compared to hazardous, harmful and expensive solvents such as acetone. RST-5 may be used for washing off resins, paints, lubricants, oils and dyes from a wide range of tools, brushes as well as hands or clothes. RST-5 reacts to most polymers and is suitable for washing hands. Acetone and other solvents may pose a risk of cancer, they permeate into the skin, damaging internal organs and the nervous system. RST-5 may be used as degreasing agent for metal parts in plants or workshops.

Technical Information RST-5 contains a container with the concentrate. It should be used in the following proportions: 1 : 20 – 1 part of RST-5 to 20 parts of water – by weight or by volume RST-5 washes best at the temperature of ca. 40 °C, higher temperature will improve washing efficiency. The same case with washing away – the brush is required. You may wash at room temperature but washing efficiency will be lower than in case of higher bath temperature. The best washing temperature may be selected experimentally.

Posted on

Production cycle consists of a number of successive steps. It usually starts with designing and preparation of technical drawings and diagrams, defining of the technology and selection and testing of raw materials. Then, production costs are calculated, logistics, distribution and marketing are organized. Irrespective of whether the end product is a boat or a jet engine shield, one of these steps is the weakest link i.e. the release agent. Will the applied product allow for taking out the product without damaging it or the mould? The use of the release agent which is not 100% trustworthy may put all efforts at risk of failure when taking out the product from the mould. The damaged mould or lost product may quickly bring substantial financial losses. Every experienced production manager knows that premature demoulding may be very costly and requires many hours of correction work. Good selection of an appropriate release agent is a decision that requires special emphasis as smooth and calm work is the effect of such a decision. The use of an appropriate release agent eliminates the need for corrections and the product cosmetics which generate additional costs, reducing the profit. The use of appropriate product family – softening agents, washing agents based on solvents or not (environmentally friendly) leads to solving any problem of this complex jigsaw puzzle. Correct application of properly selected release agents saves time, eliminates stress, leading to stable and smooth production. The Zyvax release agent system for manual application consists of three components:

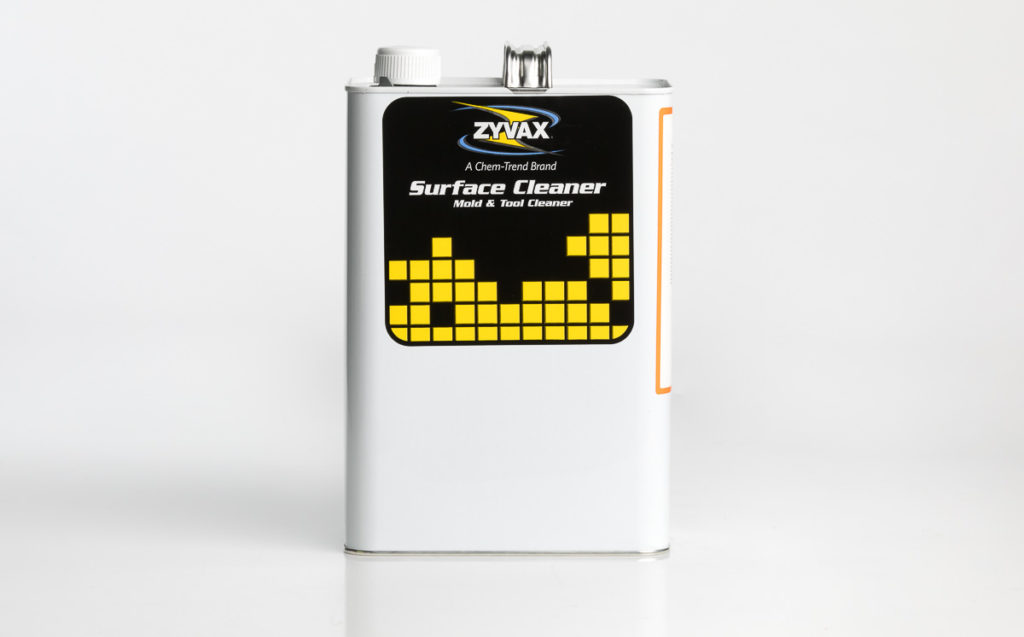
  • Surface Cleaner (for cleaning surfaces),
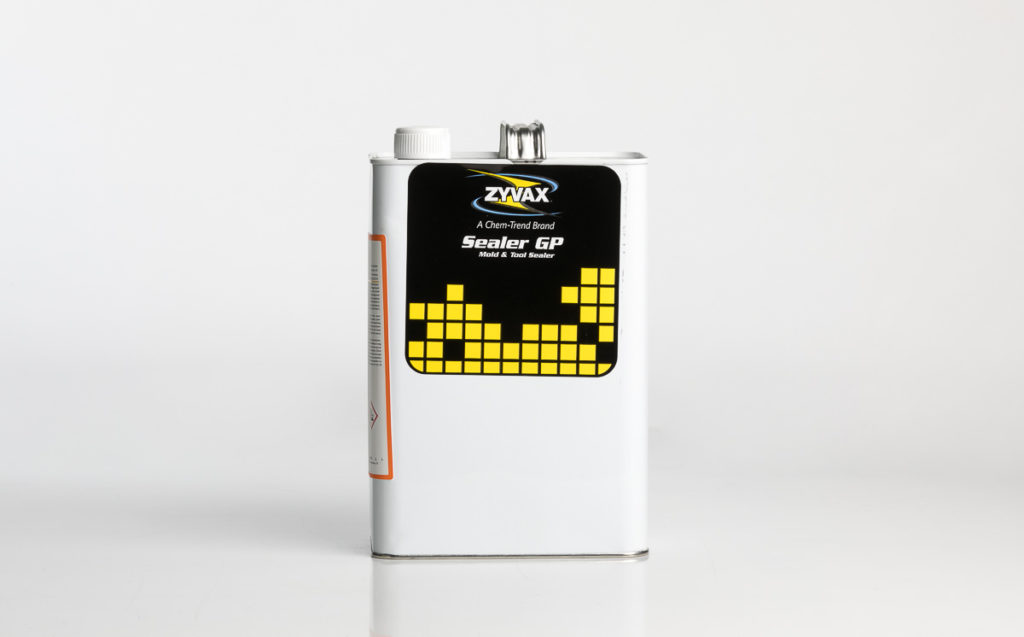
  • Sealer GP (sealing primer),
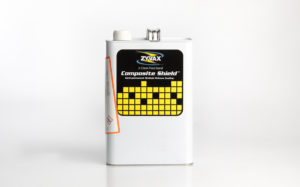
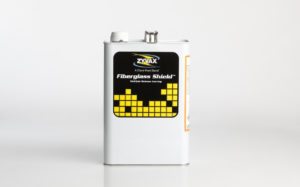
  • Fiberglass Shield / Composite Shield (Surface Shield release agent).

Surface Cleaner


Surface Cleaner is a mix of various solvents, helpful when preparing a new or a second-hand mould or tools before covering the surface with a proper release agent. It removes waxes and other impurities easily from the surface without damaging or matting it.

Method of application:

  • wet the mould surface profusely with a soaked, clean cloth,
  • when waxes and other impurities start to get solved, they should be removed with a clean cloth from the mould surface; the cloth should be changed with a clean one frequently. The process should be repeated until the mould gets clean,
  • when all impurities are removed, wipe the entire surface with a cloth soaked with Surface Cleaner and wipe dry.

Storage: When the agent is stored in a cool and dry room, in an original, closed container, it will remain suitable for use with no time restrictions. Hide from heat, sunlight, hot metal surfaces and any sources of ignition. Containers should be kept closed tight.

Sealer GP

Sealer GP is a transparent, high module, flexible foil, with perfect adhesion which creates a protection layer at the mould surface. When Sealer GP is covered with Surface Shield (the release agent), a multiple release system, resistant to damage, with extended mould use time, is created.

Use properties:

  • it may be used with all release agents,
  • it leaves all the mould details,
  • it contains no silicone,
  • thermally stable (480o°C),
  • the mould does not get coated with it,
  • it hardens under the influence of moisture.

Method of application: It is very easy to use – by rubbing it with a clean cotton cloth or by application with a gentle brush or by air-spraying. After the application of a layer, wait for 15 minutes to apply another layer. To eliminate micro-porosity, apply 4-6 layers of Sealer GP. Always let the solvent vaporize before applying another layer. Cover the surface of 50 x 50 cm at one time so that a thin film is created at the entire surface. When the solvent has vaporized and the film is still moist, it should be wiped dry with a cotton cloth. Cover the entire mould this way. Then wait for 60 minutes and apply the release agent (Surface Shield). Storage: If the product is stored in a tight closed, original container, at the temperature below 30°C, in a dry place, it will keep its suitability for use for over a year. It should not be stored in raised temperatures. It is sensitive to the action of moisture, it should be stored in a closed container.

Fiberglass Shield / CompositeShield


Fiberglass Shield / Composite Shield are multiple demoulding release agents, intended for obtaining high smoothness of demoulded elements of polyester resins and gelcoats.

Properties:

  • it does not release itself from the mould,
  • easy to apply,
  • it gives multiple release with identical repeatability,
  • it hardens quickly,
  • it does not contain free silicone compounds,
  • the mould does not get coated with it,
  • it does not migrate to castings,
  • thermally stable (480°C),
  • with high gloss,
  • easy for repeated coverage.

Method of application: It is very easy to use – by rubbing it with a clean cotton cloth or by application with a gentle brush or by air-spraying. After the application of a layer, wait for 10 – 15 minutes to apply another layer. Cover the surface of 50 x 50 cm at one time so that a thin film is created at the entire surface. When the solvent has vaporized and the film is still moist, it should be wiped dry with a cotton cloth. Cover the entire mould twice this way. If you spot the film rubbing off in some places, cover that place with the release agent, let it harden and start laminating. The mould is ready for operation after ca. one hour. Storage: If the product is stored in a tight closed, original container, at the temperature below 30°C, in a dry place, it will keep its suitability for use for over a year. It should not be stored in raised temperatures. It is sensitive to the action of moisture, it should be stored in a closed container.

Zyvax Flex

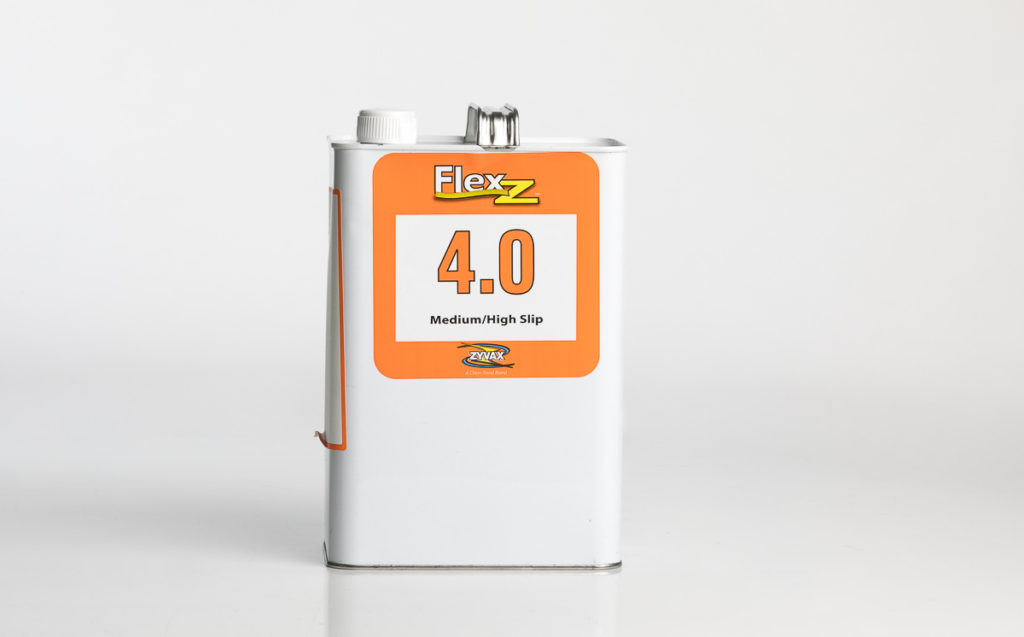
Zyvax Flex as the first, revolutionary release system allows for the selection of the appropriate slide when demoulding of the entire mould surface or a part of it. The new GLOSSCOAT technology shortens the preparation time and eliminates the risk of covering the mould with smudges by means of a full scope of application techniques. Clearly identified products, coded with a number and colour, allow the employee to apply a relevant release level at the entire mould or at each specific surface. Using the diagram, the employee may easily adjust the slide to reach the desirable result.

Kinds of release agents:

  • z1.0 – Minimum slide
  • z2.0 – Medium low slide
  • z3.0 – Medium slide
  • z2.0 – Medium high slide
  • z5.0 – High slide
  • z2.0 – Very high slide

Application process Flex-Z is easy to apply and does not require special training:

  1. Select the Flex-Z product as per the diagram with the desirable slide level.
  2. Then clean the mould surface with the Zyvax WaterClean or Surface Cleaner cleaning agent depending on the product direction.
  3. Apply a thin Flex-Z layer on the mould surface, using the the HVLP gun. Gun pressure settings 3:1 (e.g. recommended 1.5 bar air, 0.5 bar release agent). Apply Flex-Z to be sure that the entire mould surface has been covered. Apply within slow movements, returning to already sprayed surfaces.
  4. Wait 15 minutes until it hardens.
  5. Repeat points 3 and 4 three time, remember about 15-minute breaks between each application. In case of new moulds, repaired ones it is required to apply the Sealer GP primer (4 layers).
  6. After applying the final layer, let the product harden for 15 min. before you use the mould.
  7. For subsequent better demoulding, apply the additional Flex-Z layer, as above, if necessary.

The change of the slide level may be easily reached at the entire mould or at some area of the mould. Select another Flex-Z product and apply one layer directly at the previous Flex-Z product, where required. Washing away of previous layers is not necessary.

Posted on

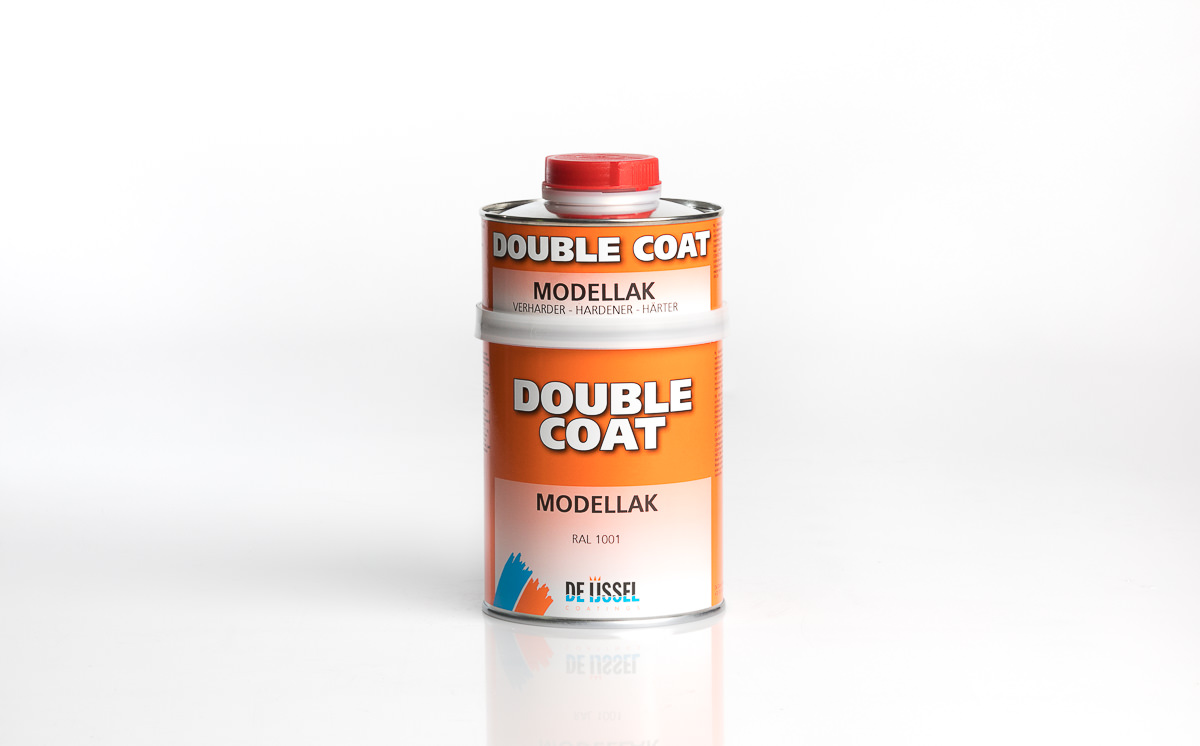
Obtaining easy-to-treat, high-gloss model surface, characterized by chemical resistance to release agents and styrene, has always been a problem to be approached in various manners, usually leading to a compromise. Recently new model coat finishing systems for composite moulds appeared, owing to which we may obtain ideal surface prepared for the mould production. DOUBLE COAT – Modellak A two component high gloss finish on the basis of polyurethane resin and hardener – aromatically modified           isocyanate, elaborated especially for the models and moulds. Main properties:

  • Perfectly evened, easy application of sprayed liquid.
  • Good resistance to various chemicals.
  • Resistance to monostyrene reached within 24 hours in case of hardening with
  • Double Coat Modellak Hardener.
  • Perfect resistance to scratching and soiling.
  • High gloss.
  • Suitable as finishing paint system for models used for production of moulds in the GRP industry .
  • Perfect adhesion to polyester and glass laminate surfaces, wooden surfaces, MDF surfaces and Poltix putty.

Colour and gloss – RAL 1001- high gloss. Basic properties in 20°C:

Density ca. 1.23 g/cm3
Contents of solid substances ca. 59% (volumetric)
Recommended layer thickness 35 — 50 pm (dry) depending on the application
Dust dry After ca. 30 minutes
Complete hardening 7 days
Time interval from repainting At least 24 hours, maximum 48 hours, on the condition that the surface is clean and dry
Durability period At least 12 months – on the condition of separate storage of both components in the original, manufacturer’s packaging
Ignition temperature (DIN 53213) 42°C – primer component 1°C – hardener

Theoretical efficiency

  • With coverage thickness of 35 pm – 12.9 m2/kg(16.8 m2/l),
  • With coverage thickness of 50 pm – 9.1 m2/kg(11.8 m2/l),

Practical efficiency depends on many factors such as: shape and size of the surface to be painted, surface conditions and profile, application methods, weather conditions while using the product and employees’ skills. Conditions for surface and temperature of application. All appropriate surfaces: clean, dry, free of any impurities and loose particles, preferably previously fixed with Poltix putties, such as: Poltix Superplamuur, Poltix Spuitplamuur or IJmofix and ground with sand paper. During the application and hardening, minimum temperature of 15°C is allowed. Surface temperature should be 3°C higher than the dew point. Instructions for use: Prior to use, mix the primer component with the hardener carefully. Mixing proportions: 67 parts primer component by weight: 33 parts of hardener by weight OR 67 parts primer component by volume: 33 parts of hardener by volume Shelf life:

    • 3 hours at 30°C,
    • 4 hours at 20°C,
    • 5 hours at 15°C.

Spraying conditions:

Application method Brush / Roller Air spray
Solvent type Solvent for manual method Solvent for spray method
Dilution admissible 3 — 5% 5 — 15%
Nozzle 1,4 — 1,6mm
Pressure 2 — 3 bar
Cleaning Double Coat Spray Solvent Double Coat Spray Solvent

Repainting and hardening with Double Coat Modellak:

15 ° C 20 ° C 30 ° C
Minimum 32 hours 24 hours 16 hours
Maximum, no grinding 3 days 2 days 1 day
Maximum, with grinding with sand paper P320-P400 unlimited unlimited unlimited
Resistance to monostyrene, po 2. 32 hours 24 hours 16 hours
Resistance to monostyrene, po 3. 7 days 5 days 4 days
Complete hardening 10 days 5 days 4 days

2 — Double Coat Modellak primer system and Double Coat Modellak hardener. 3 — Double Coat Modellak primer system and Double Coat hardener. Double Coat Modellak application with brush / roller manual method:

  • Application with brush / roller manual method is suitable only for minor spot repairs.
  • In case of bigger surfaces, the Double Coat Modellak primer system and Double Coat hardener should be used.
  • Viscosity regulation by adding the Double Coat Spray solvent: 50 – 55 seconds (DIN).
  • Use an oval brush resistant to organic solvents, mohair or moltopren rollers.

Double Coat Modellak application with spray method:

  • Viscosity regulation by adding the Double Coat Spray solvent: 18 – 20 sec (DIN 4).
  • Use a nozzle with the diameter of 1.4 – 1.6 mm.
  • Apply a mist layer as the first spraying, after ca. 15 minutes supplement gradually until reaching complete layer thickness.
  • Do not apply too thick coating in one layer.

Double Coat Modellak application with spray method onto large surfaces:

  • In case of larger painted surfaces use the Double Coat Modellak primer system and Double Coat hardener in the proportion of 67 parts of the primer and 33 parts of the hardener by weight.
  • This will reduce the risk of occurrence of losses in the processes but the coating will reach optimum resistance to monostyrene after 5 days.

Double Coat Modellak grinding: Double Coat Modellak gains the best adhesion when the surface between particular coatings is ground. Very good grinding effect may be achieved owing to grinding with sand paper from P320 to P400. Durester C5806G Durester C5806G is a spray tooling varnished based on polyester resin, thixotropic, intended for the construction of models and moulds. The product does not contain wax and is accelerated. It is hardened with the supplement of 1 – 1.5% of the MEKP initiator (e.g. Butanox M–50 or P–50). Properties:

  • very good to treat,
  • quick hardening at room temperature,
  • good chemical resistance,
  • good resistance to the temperature of exothermic peak.

Durester C5806G reaches optimum properties after hardening at room temperature even in case of a thin layer. After hardening, it has hard and glossy surface, easy for finishing treatment by means of grinding with water papers and polishing. Application principles: All surfaces should be dry. Ambient temperature, surface temperature and product temperature should range from 18 to 22°C during application and hardening. Moisture should not exceed 80%. The varnish is easy to spill on the surface however in case of spraying onto porous surface (e.g. PU foam, MDF), the spray putty primer should be used. It is important for the surface to be free of such pollutants as dust or oil. In such a case the surface should be ground with sand paper P180–240 and wiped with electrostatic cloth. Varnish should be applied with 3 to 6 “wet to wet” layers, with a conventional spray gun. The nozzle with the diameter of 1.5 – 1.8 mm and the air pressure of ca. 2.5 bar are recommended. Acetone or a substitute is suitable for washing of the tools. To accelerate the hardening process, the model may be heated at the temperature of 50°C, when the surface becomes dust dry. Too fast heating may cause closing of air bubbles and porosity. After hardening the surface may be easily ground and polished to high gloss. It is recommended to do it after a few days. Physical properties:

Viscosity (DIN cup 4) 35 sec
Barcol hardness 1 36/45
Gelling time 60 min
Dust-dryness 180 min
Treatability 24 h
Colour RAL 3009 or any other at the customer’s request
Package 1,5,20 kg can

1 – 48h, 23°C / 24h, 23°C + 24h, 50°C Storage: Store in a cool and dry place, not exposed to sunlight, in an originally closed packaging. Storage time in such conditions for at least 3 months. Non-accelerated version’s (C5800G) storage time amounts to 12 months. Stir well before use.

Posted on

Model

  • For production use materials resistant to the styrene action,
  • For production use materials resistant to the raised temperature action,
  • Use high quality release agent.

The form may be produced directly from the model or:
Model — Master Model — Model — Mould — Element

Low peak exothermic AROPOL XO allows for building the mould with materials with low resistance to raised temperatures.

MAXGUARD GT tooling gelcoat

MAXGUARD GT is a tooling gelcoat produced on the basis of special vinyl ester resin. The base resin recipe ensures that the mould surface has good mechanical properties, high gloss and flexibility.
The following colours are available: GT green H/S, GT black H/S and GT NTRL H/S transparent.


As small nozzle and as low pressure as possible should be used for spraying.


Skin coat AME 6000 T35 vinyl ester

AME 6000 T35 is an accelerated, thixotropic, low-emission vinyl ester resin intended for the production of high quality moulds. AME 6000 T35 is characterized by:

  • perfect moisturising of glass fibre,
  • perfect resistance to osmosis,
  • obtaining very good surface quality,
  • obtaining laminate with high mechanical parameters,
  • low emission of organic compounds (LZO).
  1. To obtain the best effect possible, the temperature of all materials and tools should range from 20 to 25°C.
  2. High quality hardener MEKP – 50 should be used in the amount of 1.5%.
  3. Commencement of laminating with XO resin should take place after the laminate hardens (2 – 3 hours).

AROPOL XO structural resin for mould construction

AROPOL XO is high quality resin for construction of moulds, containing the Low Profile (LP) supplements.

AROPOL XO means:

  • A ready-for-use product, all that is required is adding the hardener,
  • Easy to use product due to low viscosity.
  1. Minimum laminate thickness – wet to wet lamination amounts to 5 mm (4 x 450 g/m2).
  2. If the resin starts to gel, work should be interrupted and continued after the laminate hardens.
  3. The temperature of all materials and tools should range from 20 to 25°C.
  4. Glass content in the resin should range from 25 to 30 %.
  5. Rigidity, stability of the mould dimensions may be increased by heating up the mould (heat treatment improves the mould mechanical properties).
  6. The mould may be de-moulded after 24 hours.

Posted on

1. Mould surface preparation.

It comprises polishing in case of periodical renovation of moulds. This action is aimed at removing resin and wax concretions which cause the loss of uniform gloss at the goods (smudges, dulling) from the mould previously being in operation. Polishing pastes which do not contain silicone should be used for polishing. Polishing may be performed manually or mechanically with the use of, at the first stage, sponge shields and water cooling (sprinkling), and then brightening with shields, the so-called dashed plaster.

During mechanical polishing attention should be paid to:

  • cleanliness of shields (risk of scratching the surface),
  • even shifting of the shield at the surface for the purpose of avoidance of local overheating of gel-coat,
  • effective, firm grip of the polisher preventing accidental hit against the mould surface,
  • precise cleaning of the mould surface with water to remove the paste residues after polishing is finished.

2. Application of the separation layer.

The separation layer enables the product separation after completion of lamination. The barrier which enables the gel-coat to adhere to the mould is most often made by a composition of special synthetic and natural waxes. The application method is usually defined by the manufacturer thereof.

Most frequently the following system applies:

  • for new or regenerated moulds – application from 5 to 9 times at the intervals o 2 to 4 hours. The application is carried out with the use of a cotton cloth – application with a thin layer at the surface of ca. 0.5 m2 (A). It is important to maintain a proper, thin layer of the paste with no explicit thick smudges (a puppet-twisted cloth with the paste is a well-tested method). After the application of the paste at the surface next to it, of ca. 0.5 m2 (B), you should go back to surface (A) and gloss polish the previously applied and partially vaporized paste at the surface (A). The remaining areas of the mould surface should be polished with such an alternative system. The remaining layers of the release agent should be applied after ca. 2-4 hour break. It is recommended to leave the last but one layer after polishing of the mist (after initial vaporization of the paste) for 24 hours (for a night) and polish the surface after it has hardened. The last, sixth layer should vaporize, prior to the application of gel-coat, for ca. 6 hours and it should be polished carefully.
  • for moulds in operation – one-off, interoperational application depending on needs resulting from the occurrence of irregularities at the product demoulding. The time from the completion of the operation to the application of gel-coat should amount to ca. 3 hours.

Antistatic cloths should be used for dedusting of moulds before the application of gel-coat. Attention should be paid to the cloth description – cloths containing silicone must not be used – risk of damage of the separation coat and the risk of the product sticking to the mould.

3. Gelcoat application.

Gelcoat is the first, decorative and protective layer of the laminate. The final effect of the product aesthetics depends on proper application of the gel-coat. Proper thickness of gel-coat is decisive of the laminate durability and its should amount to ca. 0.6 – 0.8 mm (wet). Usually it is obtained by double application of gel-coat. It is significant that the first layer is thicker than the second one. Proper thickness of the first layer amounts to ca. 0.5 mm (wet). It ensures good gelling of gel-coat and after the period of ca. 90 minutes effective application of the second layer. GE series gel-coat by ASHLAND applied this way may be covered with laminate not earlier than after ca. 90 minutes. Simultaneously, the manufacturer recommends that the maximum time of leaving the gel-coat in the mould does not exceed 12 hours. It is most favourable to apply the 1st layer of the laminate within 4 hours from the application of the second layer of gel-coat. In case of tray moulds, in which styrene vapours may deposit, it is recommended to position them askew in order to enable airing of the moulds. Large moulds with complex shapes (concave) should be positioned in a manner which enables to turn them or change their position to facilitate styrene vapours to flow out. The mould and the gel-coat temperature cannot be lower than 18°C. It is recommended to maintain the temperature at the level of 20 ÷ 23°C. In hard-to-access places, by internal edges, attention should be paid not to exceed the admissible thickness of the gel-coat applied.
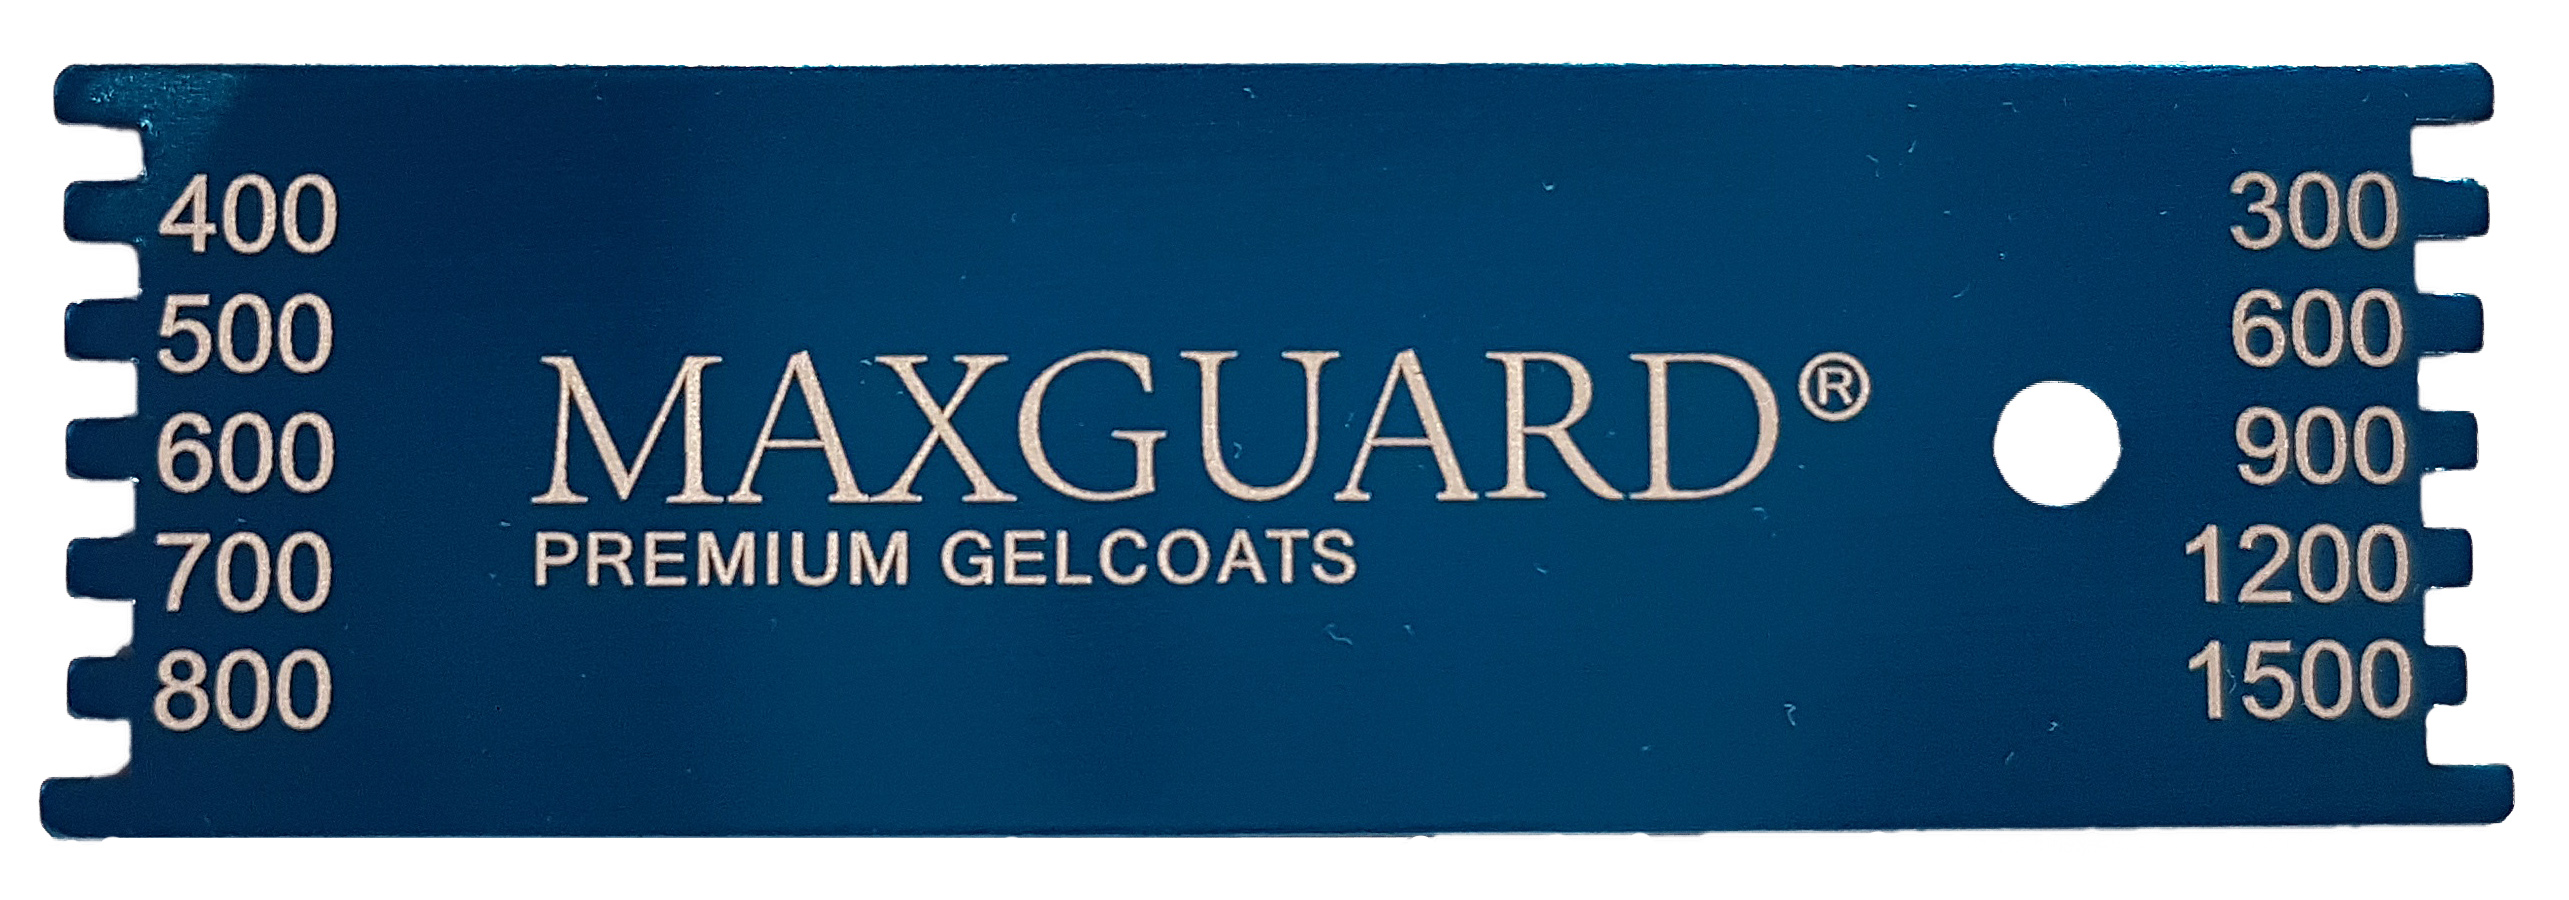
Gelcoat should be mixed carefully prior to the use. Initiator added in the amount of 2% should be carefully mixed with gel-coat. Mixing time of ca. 1 minute is practised. Gelcoat should be prepared in thermoplastic containers e.g. made of PE, PP. Flat brushes with the width adjusted to the degree of the mould complexity and the thickness of ca. 5-8 mm should be used for the application. Prior to the use, the brush should be prepared by cutting the corners – rounded edges of the brush eliminate ropey finish at the gel-coat layer applied (longitudinal traces, interruptions in the surface coverage, unpainted areas and double lines at the band edges).

The life of the gel-coat activated with the initiator amounts to ca. 8 – 12 minutes. In case of occurrence of partial gel, gel-coat application onto the mould should be stopped as this will hinder subsequent lamination.

4. Lamination.

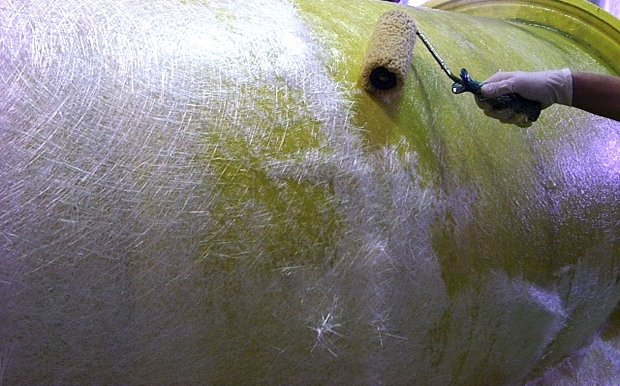
The lamination process is started with the application of the resin layer onto the gel-coat surface, and then the application of the glass mat. Efforts should be made for the mat saturation to take place with resin penetrating from the bottom. Saturation of the mat reinforcement layer (mat, fabric, mat fabric) with resin from the bottom eliminates the risk of performance of airlocked laminate. Various kinds of brushes (mainly flat ones), soft rollers with various diameters and metal rollers (or made of Teflon or other plastics), used for driving in the mat saturated with resin to the surface and for removing the air bladders found in the mat and under the mat, should be used for laminating. It is particularly important to evenly roll the laminate and to smooth it after the application of the last layer of the mat.

The use of the resin, with respect to the glass mat (correct use proportion is 2:1), should be controlled on regular basis during the lamination process. The contact method enables to obtain on average 30% of glass content in the laminate (correct range: 28÷33%).

While adding the initiator, special attention should be paid to careful mixing to avoid splashing of the scorching substance. Any works with the initiator should be carried out with the use of personal eye and skin protection. Never mix the initiator with accelerants. Any soils to be washed down with water and dirty cloths to be stored temporarily only in metal containers with a small amount of water preventing possible self-ignition. Never pour initiator from other containers into the factory container. In case of the application of accelerants, the place of their storage and application cannot be located at a close distance from the initiator. Direct contact of substances may lead to explosion. Laminates may be executed as only glass composites or with a sandwich technique with inter-layer filling e.g with Firet Coremat fabric with various thickness or PCV – Herex foam. The consumption of resin amounts to ca. 0.6 kg per 1m2 and 1mm of Firet thickness. This means that for saturation of 1m2 of 3 mm firet, 1.8 kg of resin should be used. Using Firet, one should remember that its contact with acetone leads to its degradation and partial loss of its proper thickness. Herex foam, depending on the surface shape (convex, concave, flat) should be adhered to isophthalic resin: Aropol K530TE or M530TA (orthophtalic series M105… does not bond, lack of adhesion between the PVC foam and the polyester and glass laminate) or light polyester putty is used for that purpose. Glass mats with powder binder (resistance to osmosis) or emulsion binder (standard) should be prepared beforehand, aiming at the elimination of the cut edge overlap. In hard-to-mould places, filling putty could be used, which eliminates potential air craters under the gel-coat e.g. in sharp internal edges. For the purpose of full control of the location of the first layer of the glass mat, it is recommended to interrupt the process after the application of that layer and to continue the process after gelling of the layer. Before continuation, detailed surface inspection, with possible remedy of the defects detected, should be performed. The quality and the looks of the product surface depends on the correct performance of the 1st layer laminate: the first layer of the laminate, tightly sealing the gel-coat after gelling, constitutes a kind of a barrier layer for harmful action of styrene contained in the resin saturating successive layers of reinforcement and it effectively protects gel-coat against possible defects, disqualifying the quality of external Surface.

5. Mechanical treatment and internal surface topcoating.

The product laminate is made with the surplus of ca. 20 mm from the edge in order to eliminate non-laminated parts and delamination at the edges. It is recommended to cut the laminate edges with a knife after the completion of the lamination process. The layers cut must be partially gelled. It is important to check the amount of the time required for partial gelling. Too early attempts of cutting result in jagging of the fibres, whereas delayed cutting prevents the laminate hardness. Only in justified cases (precisely defined thickness and laminate content at the edges) is the surplus cut mechanically after the laminate hardens, making sure that the lamination process is not taking place at the neighbouring stations (risk of dusting). Any additional lamination may be performed within 24 hours from the completion of lamination. In case of performance of additional lamination of the product being in the mould, the time by de-moulding is counted from the completion of the aforementioned operations. After lamination the product must stay in the mould, in the processing conditions (temperature, moisture) for at least 24 hours from gelling of the last layer of resin.

The final treatment of edges is performed after de-moulding. Any places where fibres were devoid of the resin shield and are exposed to direct action of water and moisture (edges of the product elements, edges of drilled openings etc.) should be secured by means of painting with catalysed structural resin.

For the purpose of full laminate protection, topcoat with the thickness of 0.3 – 0.4 mm should be applied at internal product surfaces. During application accidental brush movements in various directions should be eliminated. Repeated interference with previously applied topcoat layer, which already got covered with paraffin barrier, leads to tearing it off and non-aesthetic diversification of the surface looks.

Connecting of elements of a large product is performed mechanically (bolts, screws, rivets) or chemically (bonding and putty sealing, wet laminate sandwich bonding, additional lamination and lamination).